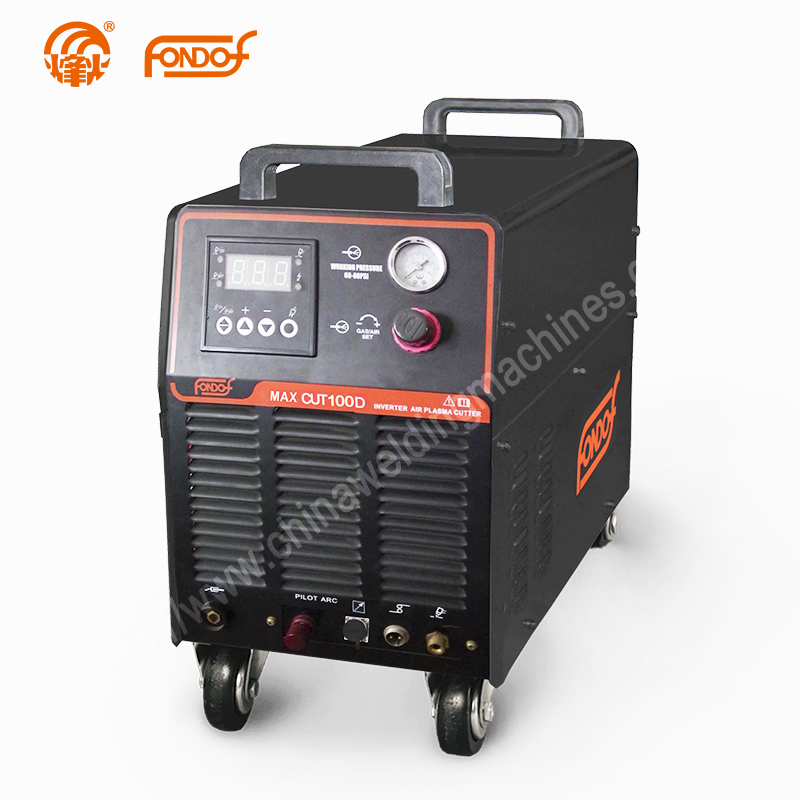
Plasma cutting, a versatile and powerful metalworking technique, has become increasingly popular in recent years. It offers both professionals and hobbyists the ability to cut through a wide range of materials with precision and speed. If you're just starting with a plasma cutting machine, this comprehensive guide will walk you through the essential techniques and tips to help you get the most out of your equipment. Let's dive right in!

What is Plasma Cutting?
Plasma cutting is a method that employs a high-velocity jet of ionized gas to melt and remove metal, producing clean and precise cuts. It's highly favored for its ability to slice through various materials, such as steel, aluminum, and even stainless steel, making it an invaluable tool in various industries.
Why Choose Plasma Cutting?
Precision: Plasma cutter delivers unparalleled precision, making it ideal for intricate designs and detailed cuts.
Versatility: You can use a plasma cutter on various materials, ensuring versatility in your projects.
Speed: It's faster than traditional cutting methods, saving you valuable time.
Safety First
Before diving into the technical details, it's essential to prioritize safety. Plasma cutting involves high temperatures and electricity, so follow these safety guidelines:
Safety Precautions:
Protective Gear: Always wear safety goggles, flame-resistant clothing, gloves, and a welding helmet with a shaded visor.
Ventilation: Work in a well-ventilated area to avoid inhaling harmful fumes.
Grounding: Ensure proper grounding of your equipment to prevent electrical accidents.
Fire Safety: Keep a fire extinguisher within reach and a clean, clutter-free workspace.
Setting Up Your Plasma Cutter
Machine Calibration
Calibrating your plasma cutter is the first step to ensuring precision in your cuts. Consult your machine's user manual for specific instructions, but generally, it involves setting the amperage and gas flow rate according to the material you're cutting.
Material Selection
Choosing the right material is crucial. Consider factors such as thickness, conductivity, and durability. Ensure your workpiece is clean and free from rust or contaminants for a smoother cutting process.
Mastering Cutting Techniques
Straight Cuts
To make a straight cut, follow these steps:
Mark Your Line: Use a straightedge or guide to mark the cutting line on your material.
Position the Torch: Align the plasma welder torch with the marked line, ensuring the correct angle and standoff distance.
Trigger the Arc: Depress the trigger to start the arc and move the torch along the line, maintaining a steady speed.
Curved Cuts
For curved cuts, practice is key:
Practice on Scrap: Start with scrap material to get a feel for controlling the torch's movement.
Use a Guide: Employ a circle-cutting guide for smoother curves.
Maintain Consistent Speed: Consistency in torch movement is vital for clean curves.
Piercing
Piercing refers to the process of starting a cut in the middle of a workpiece. Follow these steps:
Position the Torch: Place the torch where you want to start the cut.
Initiate the Arc: Depress the trigger to start the arc, and then move the torch along the desired path.
Troubleshooting and Maintenance
Common Issues and Solutions
Excessive Dross: Adjust the amperage and cutting speed to reduce dross.
Uneven Cuts: Ensure proper grounding, clean consumables, and correct gas flow.
Arc Instabilities: Check for loose connections and maintain a steady hand.
Routine Maintenance
To keep your plasma cutter in top condition, regularly:
Clean the Torch: Remove spatter and debris.
Inspect Consumables: Replace worn-out consumables.
Check Connections: Ensure all connections are tight and secure.
Conclusion
Plasma cutting is a powerful and versatile technique, and with the right knowledge and safety precautions, beginners can quickly become proficient in using plasma cutters. As you gain experience and confidence, you'll be able to tackle more complex and creative projects.
So, go ahead and start your plasma cutting journey today. Remember to prioritize safety, practice your techniques, and unleash your creativity with this remarkable tool.


Comments
0